بروزرسانی: 20 آبان 1404
Hands On With The Kingroon KP3S Pro S1, Part 3 « Fabbaloo
This is part three of a three part series, please read parts one and two.
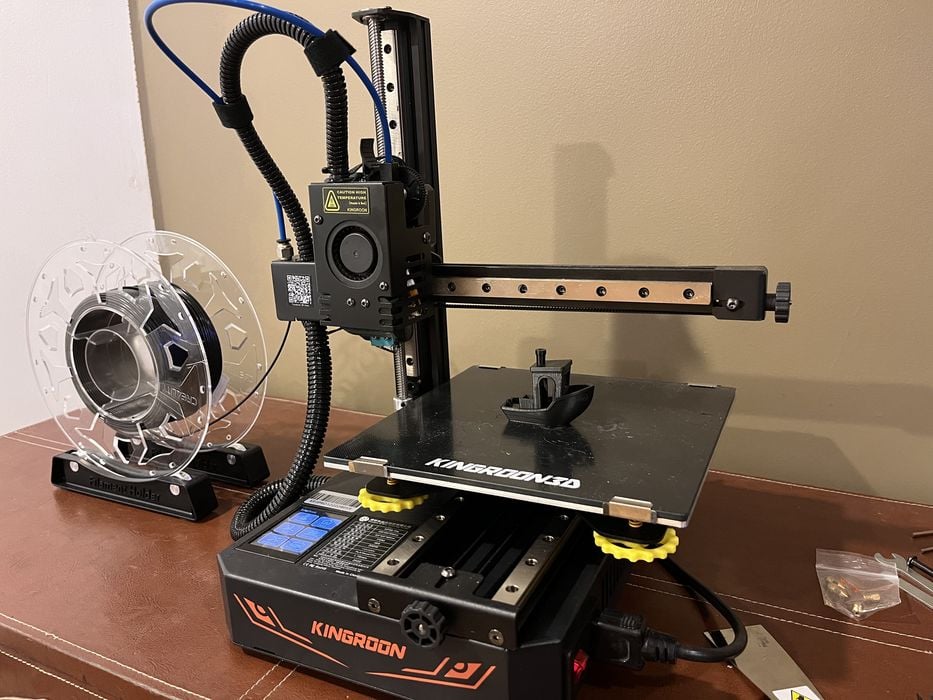
KINGROON
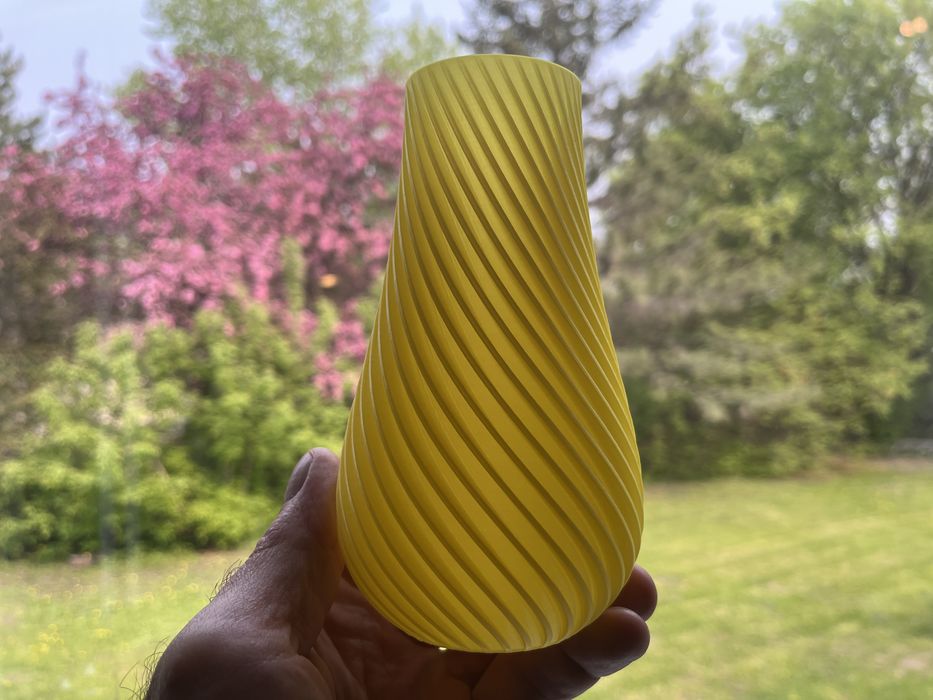
KP3S PRO S1 3D PRINTER
Kingroon has done an excellent job with the KP3S Pro S1, and we await their next innovation.
While we didn’t face significant Z-gap issues after the initial leveling process, a firmware-based setting would have aided with the more complex prints.
★ ENTHUSIAST 9/10
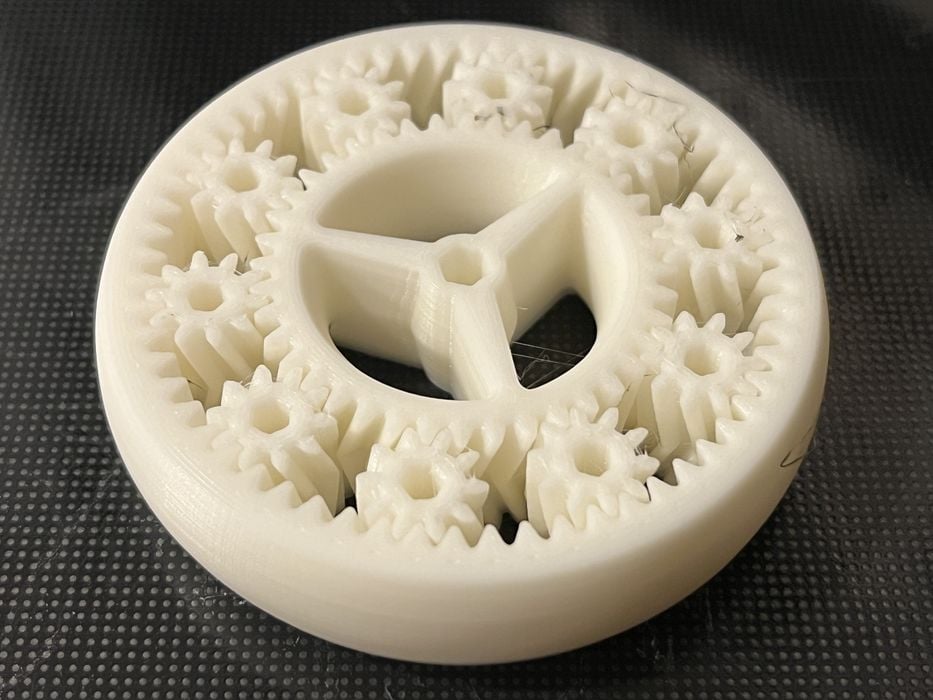
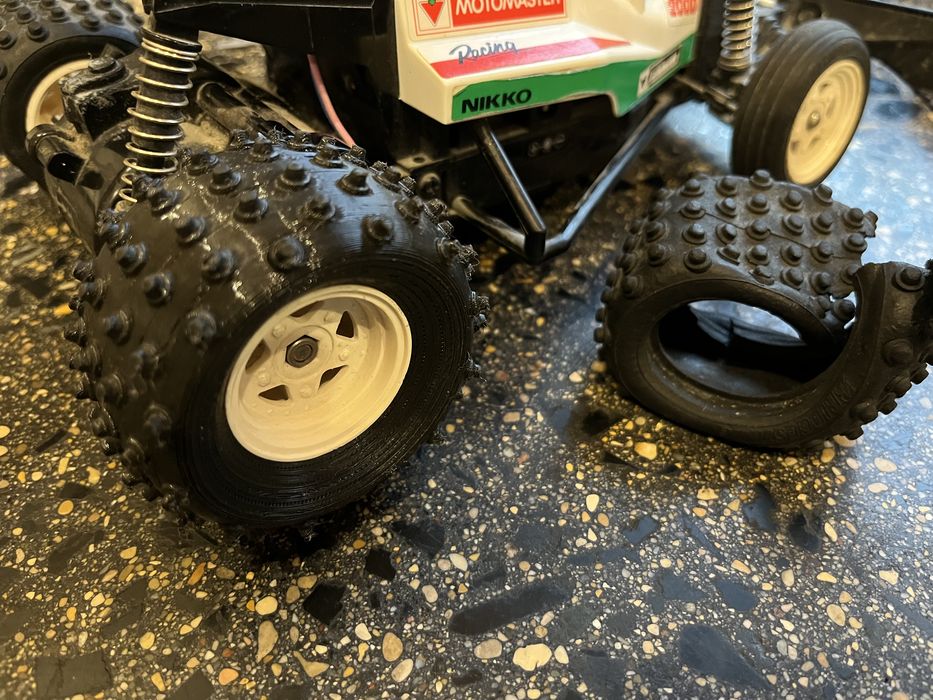
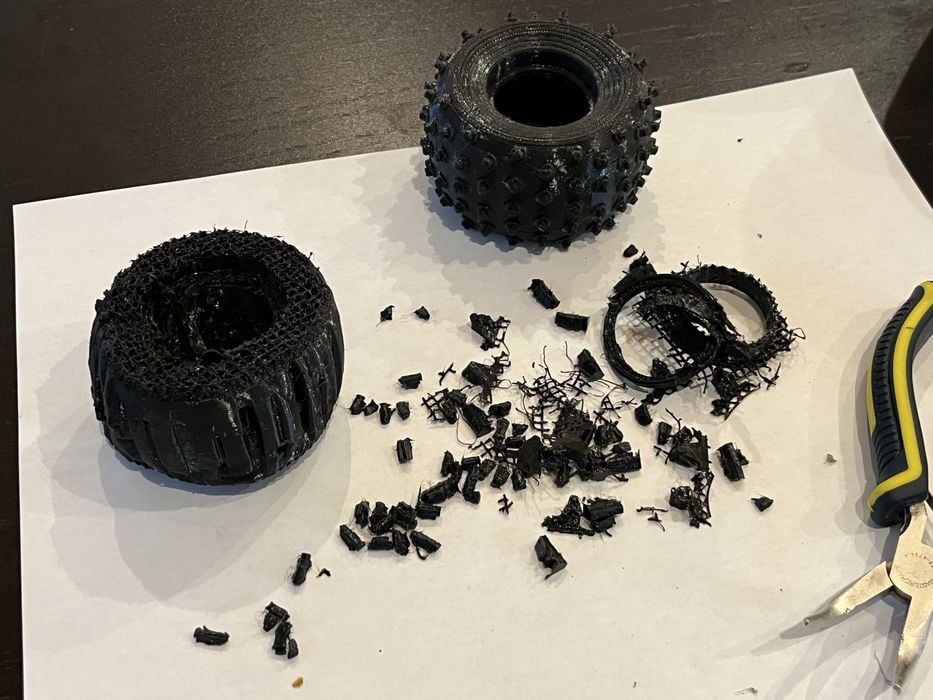
Our flexible TPU test ventured into new terrain as we attempted to print a replacement wheel for a vintage RC car.
Filament loading was a breeze, but entirely manual. An automated loading/unloading routine would have been welcome.
However, we added substantial brims to counter ABS’s notorious tendency to warp on open-air printers. The final ABS prints exceeded our expectations.
Kingroon KP3S Pro S1 Final Thoughts
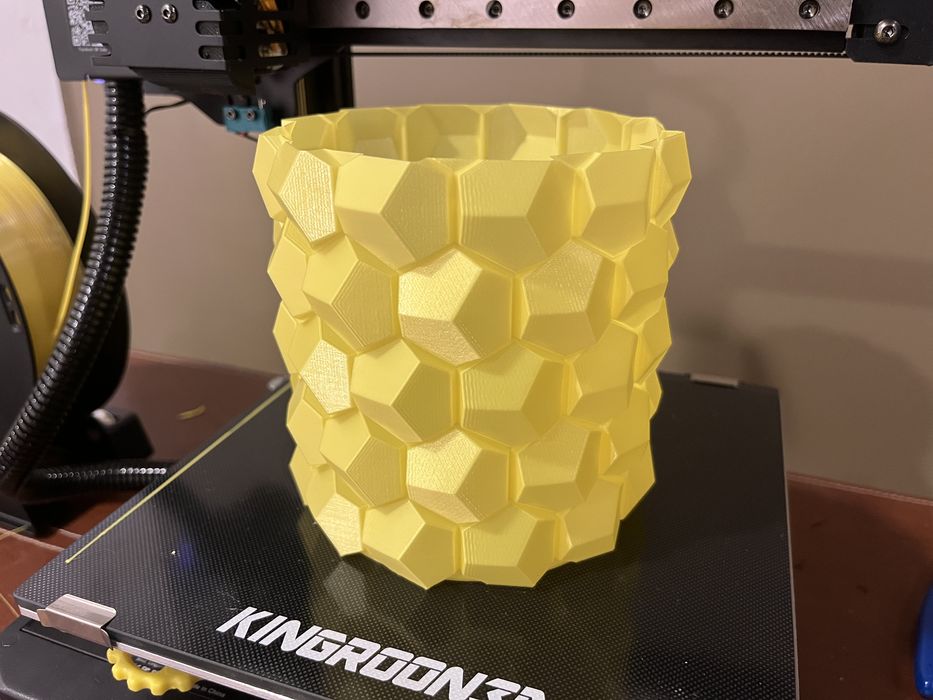
Despite its limited build volume, the printer’s compact form factor makes it an ideal choice for hobbyists looking to explore 3D printing without needing extensive space.
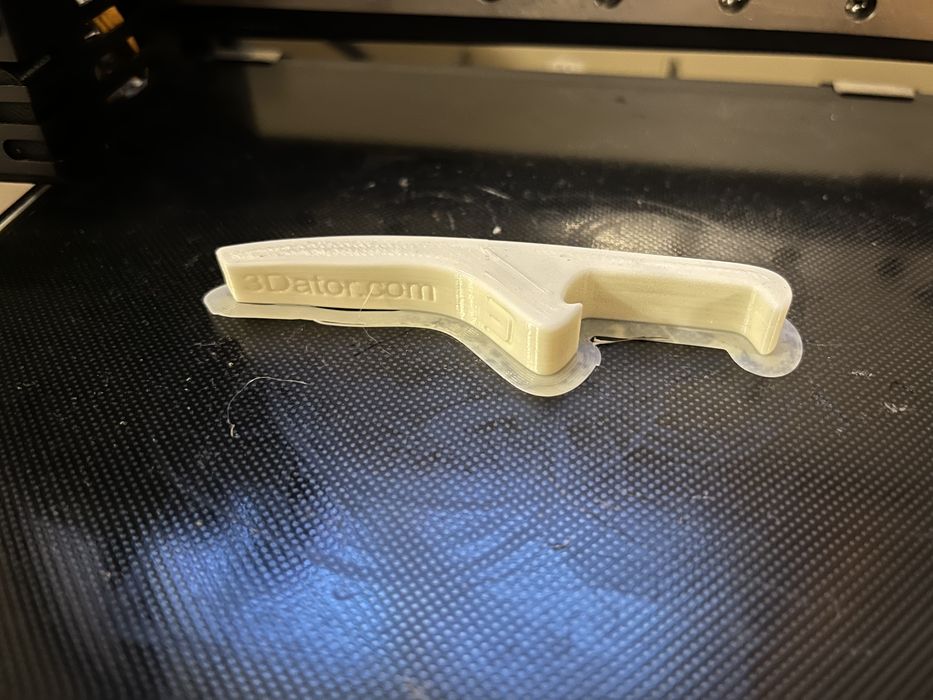
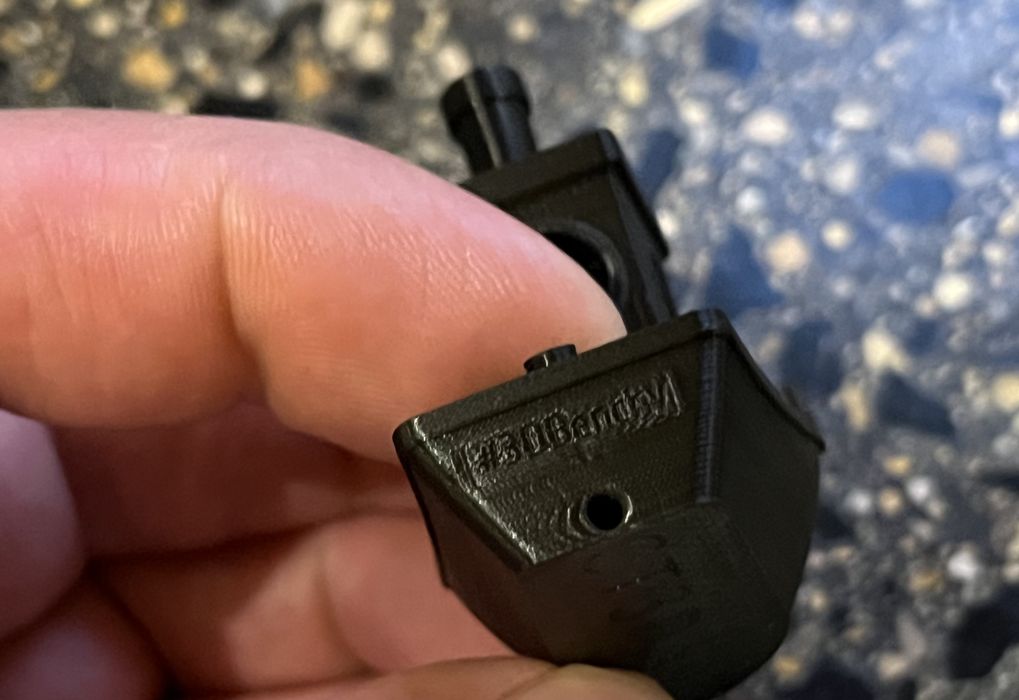
We tested ABS material on the KP3S Pro S1, even though it’s not explicitly advertised as being supported for the printer. Starting with the PETG profile, we adjusted the nozzle and bed temperatures and saving a new ABS profile, which allowed us to print a Carabiner and a Bottle Opener Whistle successfully.
Our review of the Kingroon KP3S Pro S1 concludes with print results and final thoughts.
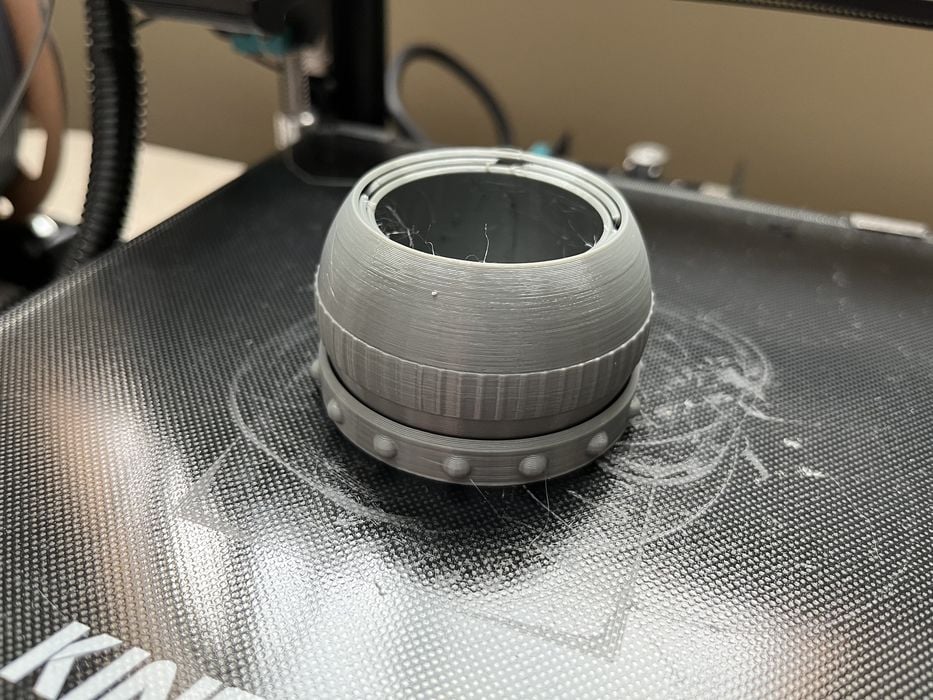
Our PETG prints included Carabiners and an articulating Eyeball 4_2 model.
The printer handled the flexible filament with ease, and the result was a perfect fit and operational wheel. It was fun removing all the support structures, however.

✖︎ Vague instructions
✔︎ Print quality
Via Kingroon
منبع
This is part three of a three part series, please read parts one and two.
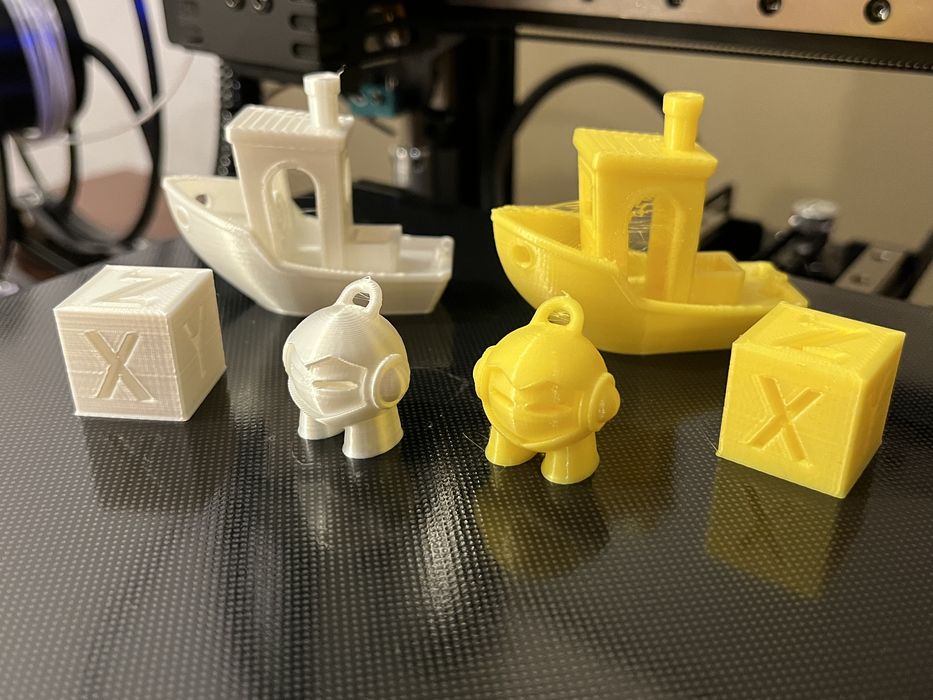
Kingroon KP3S Pro S1 Print Results
Armed with this setup, we revisited our yellow filament stringing problem. A CTRL-V test print sliced in Cura with both the yellow and white filaments was revealing — the yellow filament test showed pronounced stringing compared to the white filament variant.
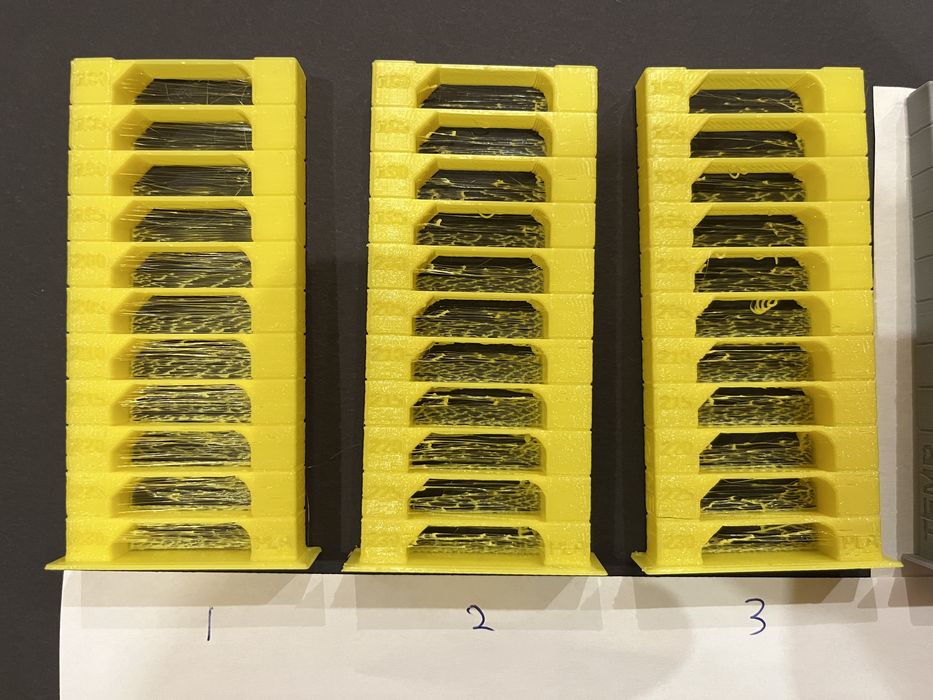
Kingroon advised us to perform a few additional tests and concluded that the filament roll was faulty, not the printer. On a positive note, they shared customized filament profiles for PETG, TPU, and PLA to optimize our prints, a valuable addition that should be included on future SD cards sent with the equipment. We set the problematic yellow PLA filament aside for the moment.
✖︎ Manual load/unload
In conclusion, despite a few minor challenges addressed during the review, the KP3S Pro S1 delivered reliable, high-quality prints with decent dimensional accuracy. It performed admirably with PLA, PETG, and TPU, even demonstrating some success with ABS in our exploratory testing.
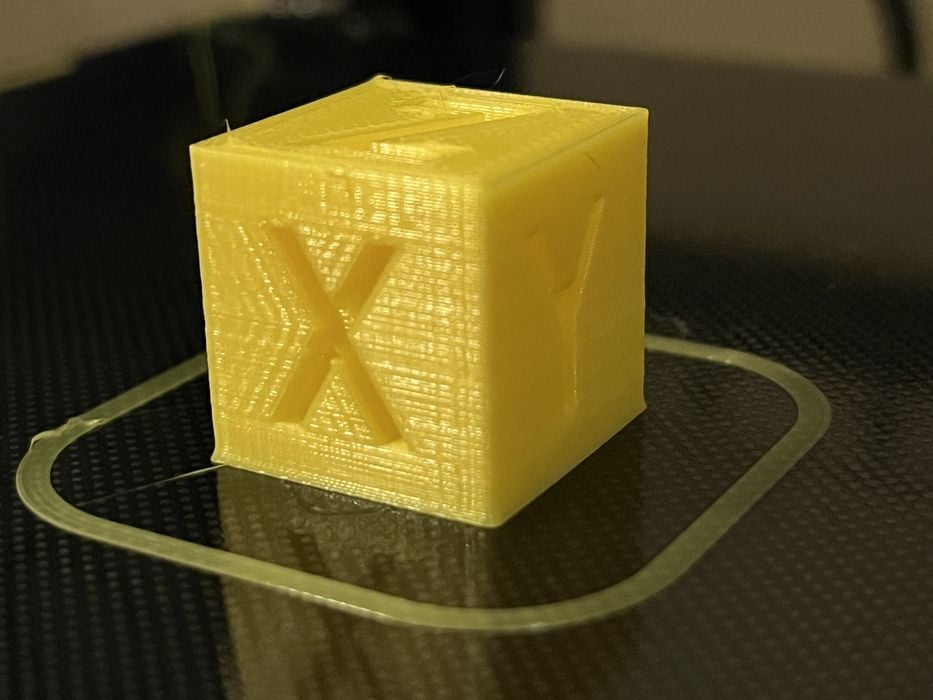
The calibration cube exhibited slight ringing, and our #3DBenchy print was exceptional, even managing to render the stern text clearly, which is often a challenge.
The support from Kingroon was impeccable as always.
Our Knurling Nut & Bolt looked impressive and spun together effortlessly.
✖︎ Live Z-gap adjust